

Quick Start / Getting Started#
Creating Your First Clera Application#
In GUI applications, a window is the primary viewing area where
interface elements like widgets, buttons, and layouts are displayed.
Clera’s Window() class serves as the canvas for all components.
Without a Window instance, no interface can be created.
Steps to Create a Window:
Import the
WindowClass: Begin by importing theWindowclass from Clera.Initialize the Window: Create an instance of the
Windowclass.Run the Window: Use the
run()method to display it.
Here’s a minimal example to create and display a window:
from clera import Window

# Initialize and run the window
window = Window()
window.run()
In this script:
The
Windowclass is imported and instantiated.The
run()method displays the GUI.This setup forms the foundation for building more complex interfaces.
Window Parameters#
Window accepts a number of parameters to configure the initial state
of your application window:
Window(
    title='My App',
    size=(800, 600),
    frame=True,
    movable=True,
    radius=0,
    alignment='center',
    hide_cursor=False
)
Key Parameters:
title (str): Window title displayed in the title bar.
size (tuple): Initial size as
(width, height).fixed_size (tuple): Locks the window to a fixed size.
frame (bool): Set to
Falseto remove the OS title bar and use a customTitlebar.movable (bool): Whether the window can be dragged to a new position.
radius (int): Corner radius for a rounded window appearance.
alignment (str): Default widget alignment inside the window.
hide_cursor (bool): Hides the mouse cursor when inside the window.
Running the Window#
The run() method starts the application event loop:
window.run(css=None, execute=None, instance=False, child=False)
css (str): Optional CSS string applied globally to all widgets.
execute (function): A function to call after the window is shown.
instance (bool): If
True, returns the QApplication instance instead of blocking.child (bool): Set to
Truewhen opening this window as a child of another.
Adding Content to the Window#
An empty window is not useful, so let’s explore how to add interactive elements. In Clera, these elements are called “widgets.” To organize widgets within a window, Clera uses layouts. Think of a layout as a bookshelf and widgets as books placed on its shelves.
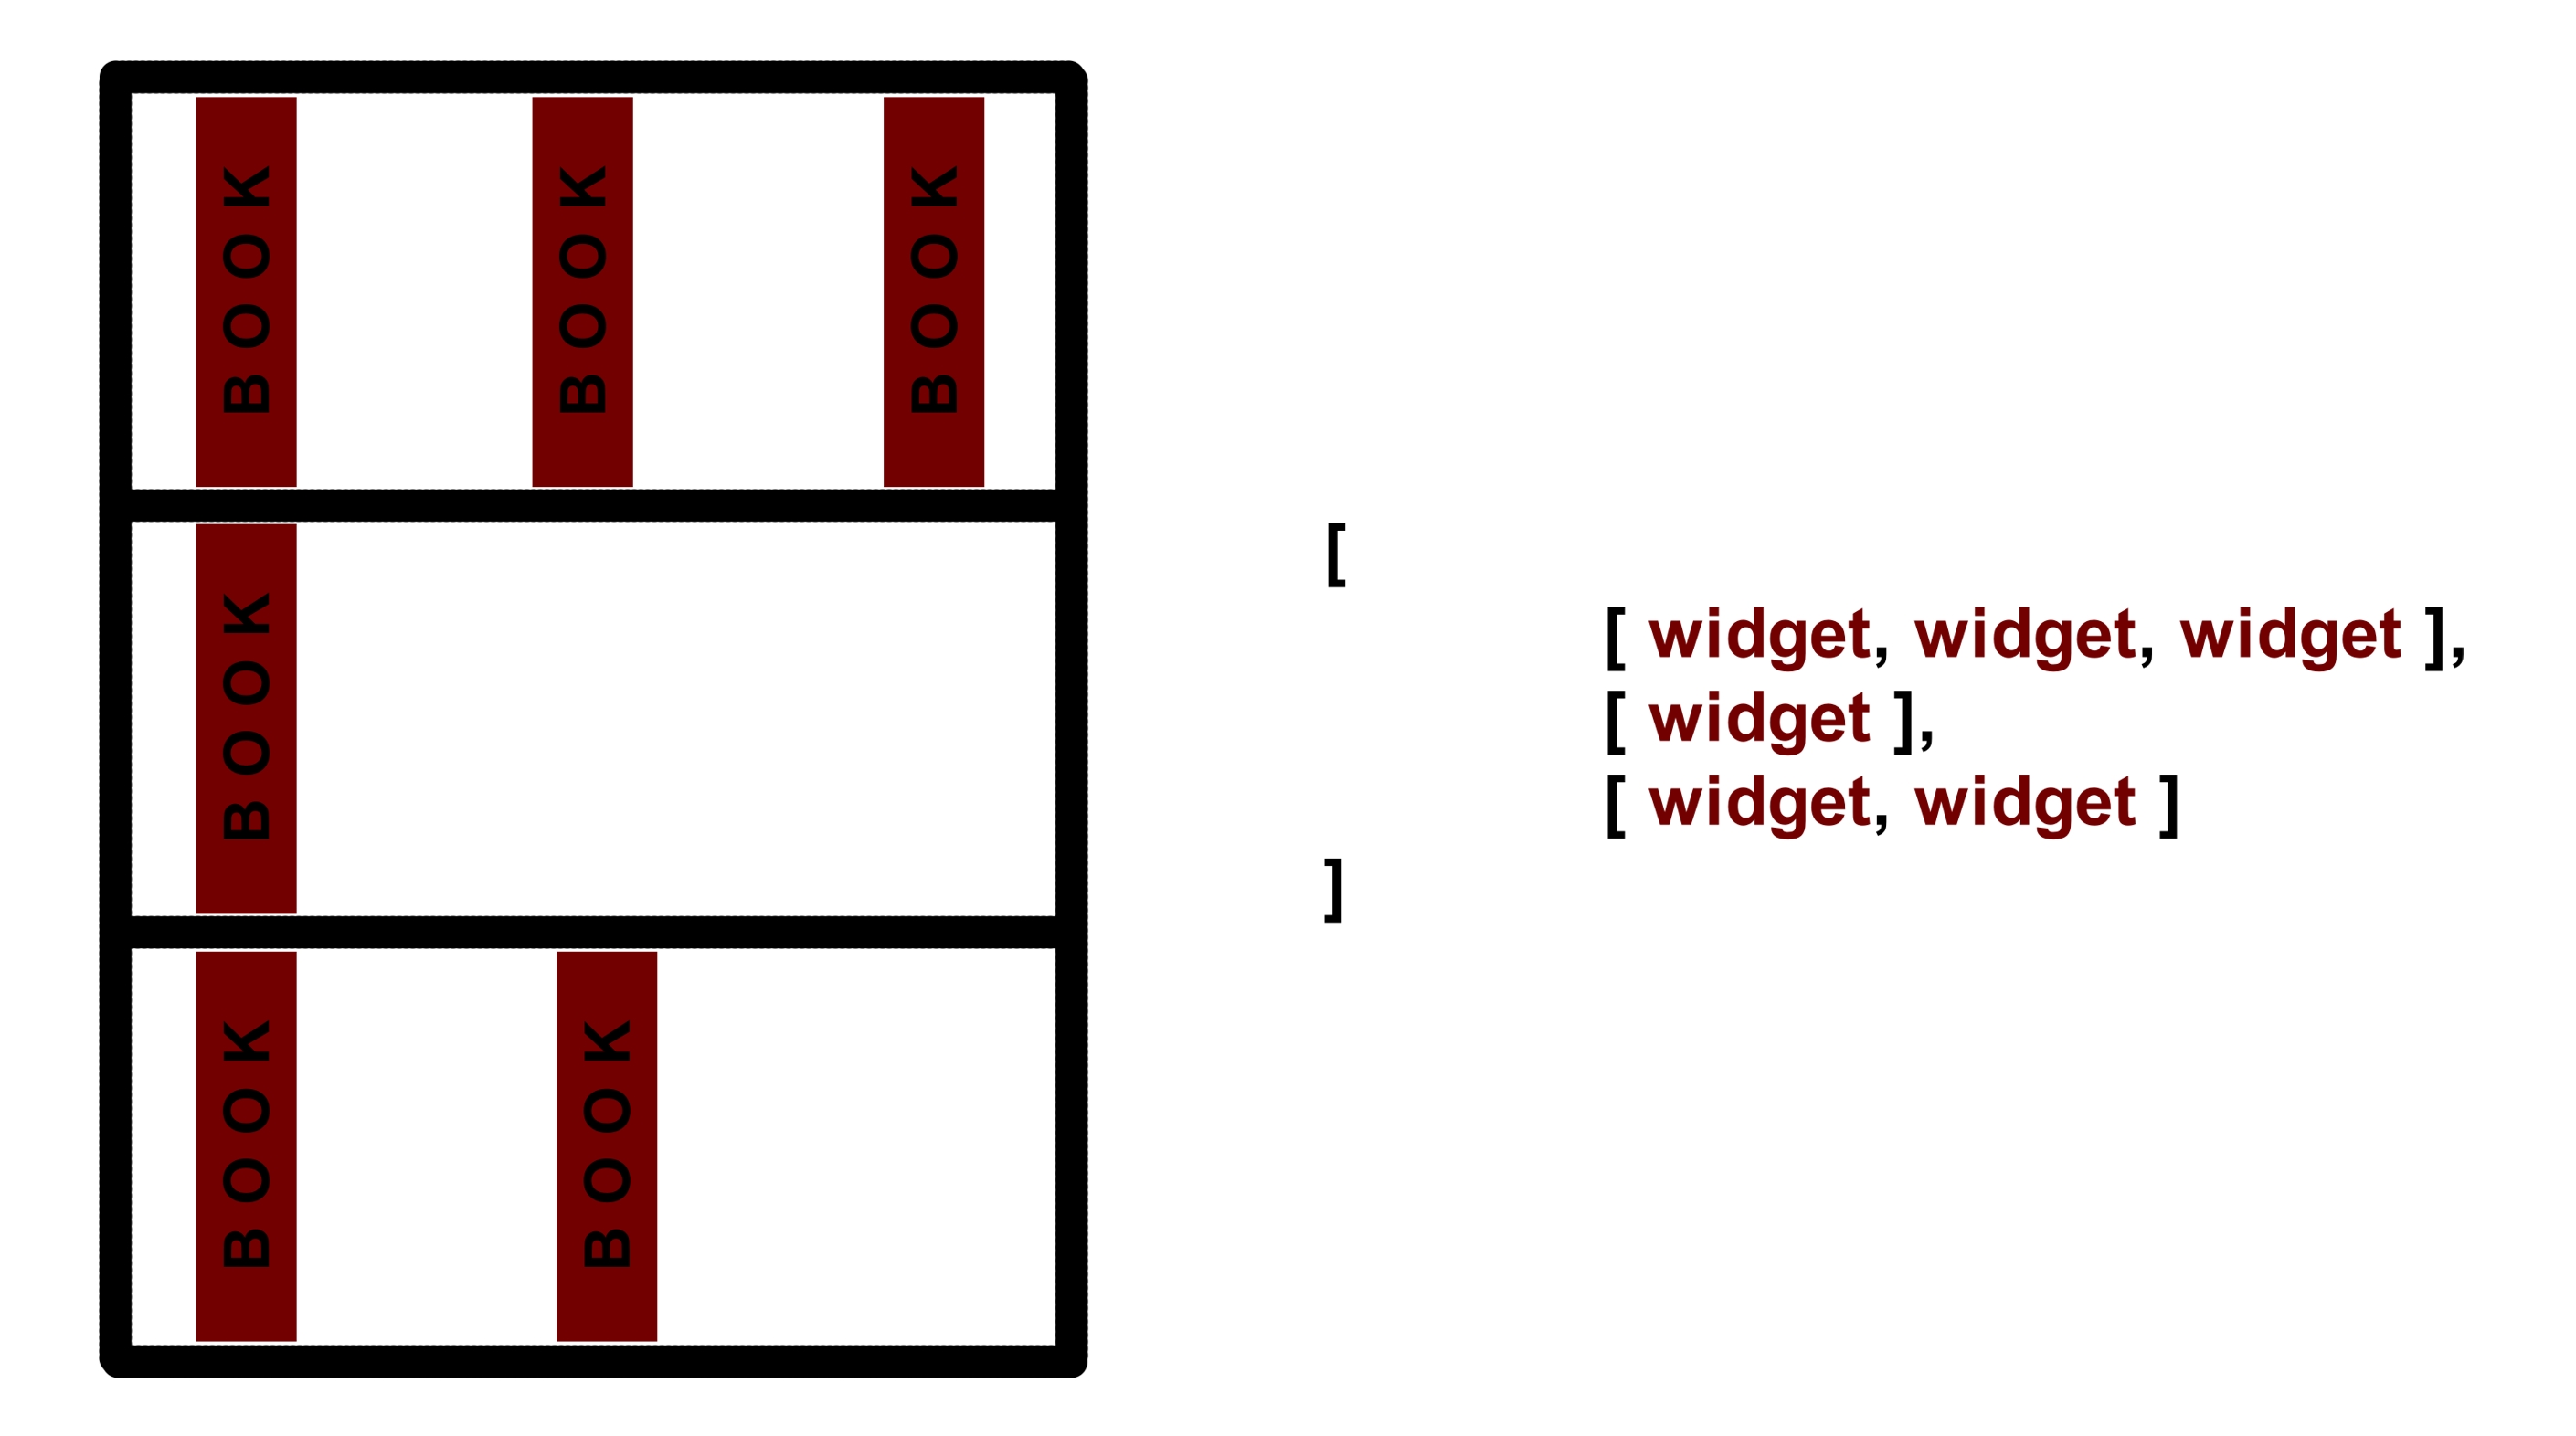
Widgets are organized using nested lists. The main list represents the bookshelf, sublists represent rows, and items within sublists are the widgets themselves. Clera supports these main layouts:

Box Layout: Arranges widgets in rows and stretches them to fill available space.
Grid Layout: Arranges widgets in a tabular grid with specific cell positions defined by row and column indices.
Splitter Layout: Divides the window into resizable panes that the user can drag at runtime.
Quick Start Example:
from clera import Window, Box, Text

# Initialize the window
window = Window()

# Add a text widget with layout
Box([
    [Text('Welcome to Clera!', alignment='center')]
])

# Run the window
window.run()
Explanation:
The
Boxclass organizes widgets into a layout.A
Textwidget displays the message “Welcome to Clera!” centered in the window.The
run()method launches the application.
Fullscreen Mode#
Toggle fullscreen at any time using the fullscreen() method:
window.fullscreen()